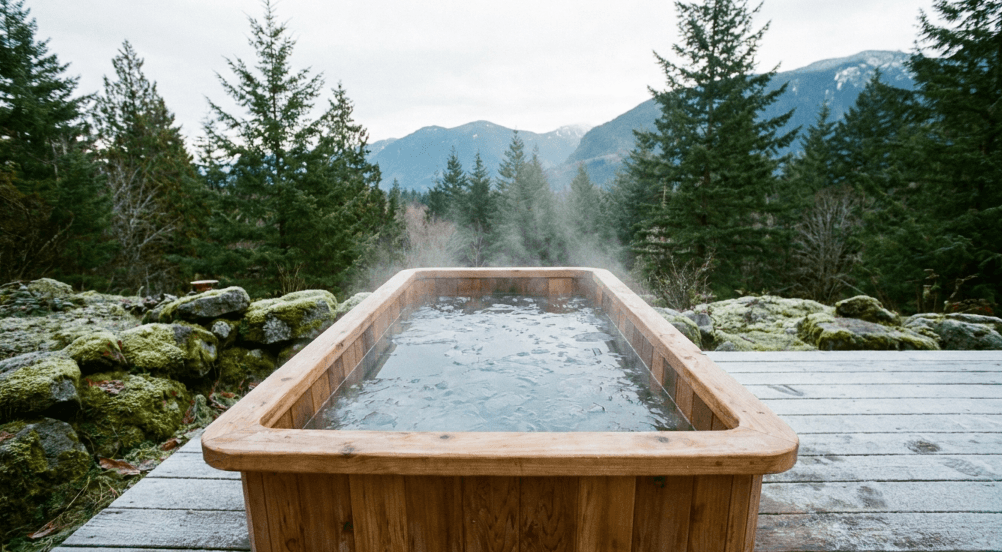
A cold plunge installation comes down to three requirements: a dedicated, GFCI-protected electrical circuit sized to the chiller (usually 20 amps at 120V or a 240V line for larger units), a level, load-rated surface that can hold 500 to 900 pounds concentrated in a small footprint, and 12 to 18 inches of clearance around the chiller side for filter access. Getting these three right the first time is what separates a plunge that gets used daily from one that sits half-empty because the setup made it a hassle.
What Electrical Circuit Does a Chiller Actually Need?
Chiller specs vary by horsepower, but a common baseline for a compact home unit is a dedicated 20-amp circuit, either 120V or 240V depending on the manufacturer, kept separate from other loads on the same wall. Ground-fault protection is required by most residential codes for anything near standing water, so the circuit needs a GFCI breaker at the panel or a GFCI outlet at the point of use, not a standard outlet. Running the circuit before the tank arrives, rather than after, avoids the awkward situation of a plunge sitting empty in the garage while an electrician’s schedule fills up.
What Kind of Foundation Does the Tank Need?
A compact tub does not need a poured foundation, but it does need a level, stable, load-rated surface. Concrete patios and slabs handle the weight without modification in nearly every case. Wood decks are the gray area: a filled compact tub with someone inside can weigh 500 to 900 pounds concentrated in roughly a 3-foot circle, and older decks or ones with wider joist spacing may need reinforcement or a dedicated paver pad underneath rather than resting directly on deck boards. A quick check of joist spacing and span rating before placement, or a call to whoever built the deck, settles the question cheaply compared to finding out the hard way.
How Much Clearance Should Be Left Around the Unit?
Manufacturers generally ask for 12 to 18 inches of clearance on at least one side, wherever the chiller connects, so hoses, filter housings, and drain valves stay reachable without moving the unit. The chiller itself also needs airflow to run efficiently, so boxing it into a tight enclosure on all sides can shorten its working life and make it run louder. For indoor installs, a nearby floor drain or a clear path to run a drain hose outside makes water changes far less of a production.
Does the Install Location Affect Chiller Performance?
Direct sun exposure makes a chiller work harder to hold target temperature, which shows up as a higher power bill and more frequent cycling. A shaded spot, a simple cover between sessions, or a partial enclosure that still allows airflow all reduce that load. This matters more than people expect: a plunge installed in full afternoon sun in a hot climate can see the chiller running nearly continuously in summer, compared to a shaded unit cycling on and off.
Why Does a Correct Install Matter for Consistent Use?
The research on cold-water immersion generally studies fairly consistent, repeated exposure rather than one-off sessions, and a plunge that is awkward to access, loud, or unreliable on temperature tends to get used less over time. A properly wired, properly placed unit that holds its set temperature without drama is what actually supports a routine, which is the variable that matters more than any single session. Buyers weighing a compact unit against a larger one for this reason can compare current sizing and chiller options at sweatdecks.com before deciding what the available space and electrical panel can realistically support.
What Permits or Inspections Come Into Play?
Rules vary by city and county, but the general pattern is that a plug-in unit on an existing circuit typically needs no permit, while adding a new dedicated circuit, especially 240V, usually requires an electrical permit and inspection. Checking with the local building department before the electrician starts work, rather than after, keeps the project from stalling partway through.
What Weatherproofing Does an Outdoor Chiller Need?
Most chillers built for residential cold plunges are rated for outdoor use, but that rating usually assumes some basic protection: a spot out of direct downpour, or a simple cover or lean-to roof over the unit itself, not just the tank. Electrical connections for an outdoor install need weatherproof, in-use covers on outlets, and any conduit run outside should be rated for exterior exposure rather than standard indoor conduit. In freezing climates, the chiller’s own manual usually spells out a minimum ambient operating temperature, below which the unit should be shut down and drained rather than left running, since components not designed for hard freezes can crack.
What Are the Most Common Installation Mistakes?
A few mistakes show up repeatedly. Plugging a chiller into a shared household circuit instead of a dedicated one is probably the most common, and it tends to show up as tripped breakers during peak household electrical use. Placing the unit somewhere with no clearance for filter access is a close second, since it turns a five-minute filter change into a project requiring the whole tank to be moved. Skipping a level check on the surface before placement is another one: even a slight tilt on a filled tank can stress seams over time and make the water level look uneven at the rim. Finally, installing without checking local permit requirements for new electrical circuits can mean redoing work later if an inspection is required retroactively.
How Should a Small-Space Install Be Sequenced?
Order of operations matters more in a tight footprint than in a wide-open backyard. The electrical rough-in should happen before the tank arrives, not after, since an electrician working around an already-placed tub has far less room to route conduit and set a GFCI breaker or outlet. Measuring the delivery path is the next step people skip: a side yard gate, a narrow hallway, or a tight stairwell can stop a compact tub before it reaches its final spot, so checking the tank’s boxed dimensions against every doorway, gate, and turn along the route avoids an expensive surprise on delivery day. Getting the surface prepped, whether that is a paver pad, a leveled patch of gravel, or a reinforced section of deck, before the delivery truck shows up means the tank goes straight into position instead of sitting in a driveway for a week.
Coordinating the electrician’s schedule with the delivery date is worth the extra phone call in a small space, since a plunge with nowhere else to sit while it waits for power can block a walkway or a parking spot. A little planning on sequencing before the truck arrives is what keeps a small-space install from turning into a multi-week project instead of a weekend one.
Frequently Asked Questions
Does a cold plunge chiller need a GFCI outlet?
Yes, nearly all residential electrical codes require ground-fault protection for any outlet near water, including a cold plunge chiller circuit.
How much clearance does a cold plunge need around it?
Most manufacturers ask for at least 12 to 18 inches of clearance on the chiller side, plus a stable, level surface underneath the full footprint of the tank.
Can a deck support a filled cold plunge?
A compact tub filled with water and a person inside can weigh 500 to 900 pounds concentrated in a small area, which some decks handle fine and others need reinforcement for.
Does a cold plunge need a permit to install?
It usually depends on whether new electrical circuits are added; a compact plug-in unit on an existing circuit often needs none, while a dedicated 240V line typically requires a permit.
References
- Effects of cold-water immersion on health and wellbeing: A systematic review and meta-analysis, PLoS One, 2025
- Effects of cold water immersion after exercise on fatigue recovery and exercise performance: meta analysis, Frontiers in Physiology, 2023
- Cold-water immersion (cryotherapy) for preventing and treating muscle soreness after exercise, Cochrane Database of Systematic Reviews, 2012


 By
By